Understanding the Concept of a Photo Wall
What is a Photo Wall?
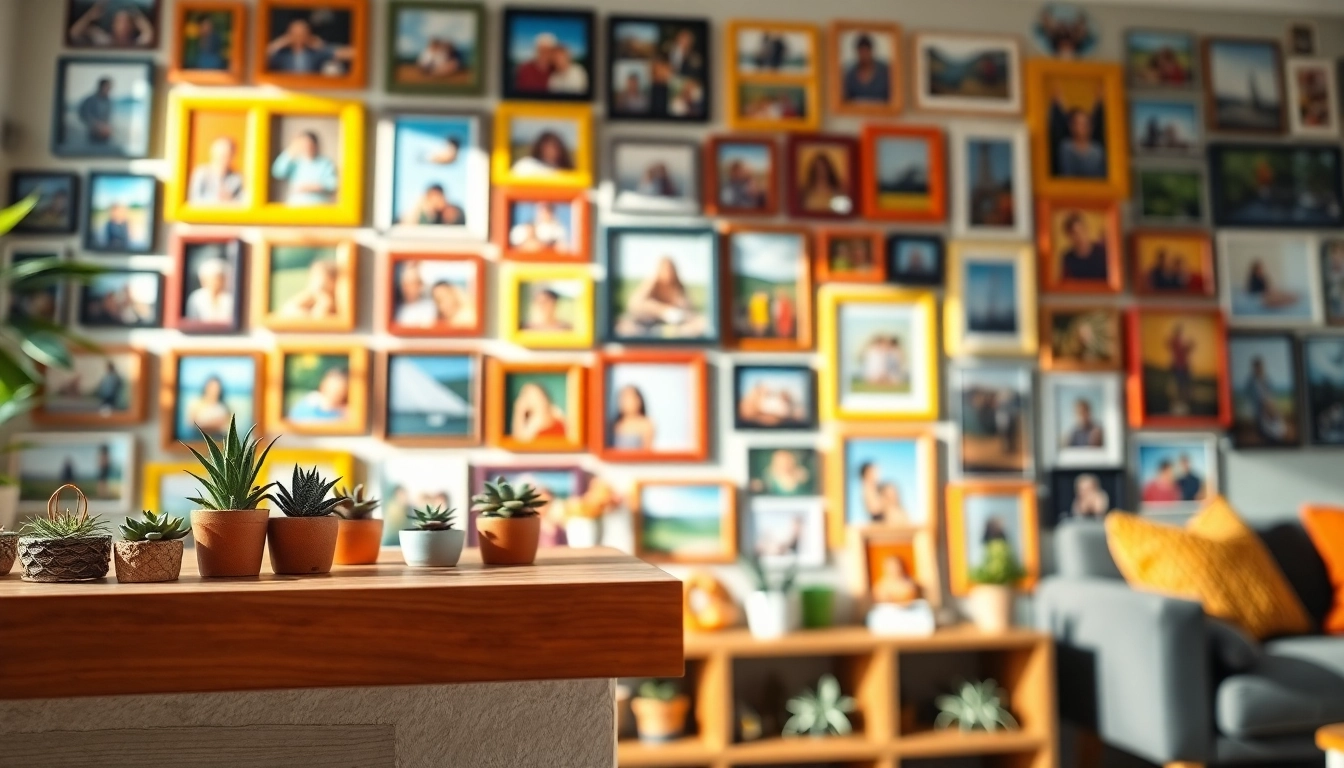
A photo wall is a curated display of photographs, often arranged in a creative and visually appealing manner, intended to showcase memories, family milestones, travel adventures, or artistic expressions. This unique design element transforms an empty wall into a dialogue starter, providing not only a visual feast but also a tangible link to personal history and sentiments. The concept of a photo wall transcends mere decoration; it infuses a room with warmth and personality, allowing individuals to express their stories through imagery. Whether in a living room, hallway, or even a workspace, a well-designed photo wall can become a focal point that invites admiration and inspires connection.
Benefits of Having a Photo Wall
Creating a photo wall offers numerous benefits that extend beyond aesthetics. Here are some key advantages:
- Personalization: A photo wall allows you to showcase your unique experiences, preferences, and values, making your space distinctly yours.
- Memory Preservation: It serves as a constant reminder of cherished moments and milestones, helping to keep those memories alive in your daily life.
- Emotional Connection: Displaying photos fosters nostalgia and emotional wellbeing, triggering happy memories and comforting feelings.
- Conversation Starter: A gallery of images encourages conversations, making it a perfect setup for gatherings and social events.
- Creative Expression: The design process involved in creating a photo wall allows for artistic expression, letting you play with styles, colors, and layouts to reflect your personality.
Different Styles of Photo Walls
Photo walls can vary greatly in style, texture, and thematic design. Here are some popular styles to consider:
- Gallery Style: A classic approach featuring a mix of framed photos in different sizes and orientations, often in a grid or asymmetrical layout.
- Collage Style: A tighter arrangement that weaves together photos and decorative elements like quotes or artwork, resulting in a vibrant, layered look.
- Floating Shelves Style: Utilizing shelves to display framed photos, plants, or decorative items, providing a 3D dimension to your wall.
- String Lights Style: Photos hung with clips on strings of lights, offering a whimsical, cozy vibe perfect for informal settings.
- Themed Wall: A photo wall centered around a specific theme, such as vacations, family, or seasons, creating a cohesive storytelling element.
Planning Your Photo Wall
Choosing the Right Location
The first step in planning your photo wall is selecting a suitable location. Consider the following tips:
- High Traffic Areas: Choose a spot that is frequently visited, such as a living room or hallway, ensuring that the photos are appreciated regularly.
- Natural Light: If possible, opt for a location with good lighting to make colors pop and enhance visual appeal without unnecessary glare.
- Size of the Wall: Assess the wall's dimensions before starting. A larger wall may accommodate a more extensive gallery, while a smaller wall may require selective choices.
- Complementing Decor: Ensure the location complements existing interior design, allowing the photo wall to enhance the overall aesthetic of the room.
Gathering Your Photos and Frames
Once you’ve identified the perfect spot, it’s time to gather your photos and frames. Follow these steps for effective curation:
- Select Meaningful Images: Choose photos that evoke particular memories or emotions—family gatherings, trips, or candid moments.
- Choose the Right Frames: Consider various styles, colors, and materials. A cohesive look can be achieved by using similar frames, or you can mix and match for an eclectic touch.
- Digital Alternatives: For a modern flair, consider using digital frames that cycle through images, offering variety with minimal physical space.
Designing the Layout
The layout of your photo wall will significantly impact its overall effect. Here are some proven strategies for a compelling design:
- Mock Layouts: Before hanging, lay the frames out on the floor or create mockups on paper to visualize the arrangement.
- Balance and Symmetry: Strive for a balanced look by evenly distributing frame sizes and spacing them appropriately to prevent overcrowding.
- Focal Points: Consider placing a standout image or a larger frame at eye level, which will draw attention first.
- Distance from Other Decor: Ensure that your photo wall is slightly away from other furniture or decorations, allowing it ample space to stand out.
Tips for Assembling Your Photo Wall
Tools and Materials Needed
Your photo wall will require a few essential tools and materials for a successful assembly:
- Measuring Tape: To measure distances accurately and maintain consistency in spacing.
- Level: To ensure frames are hung straight, maintaining a professional appearance.
- Pencils and Wall Anchors: Pencils for marking, and wall anchors for heavier frames that require additional support.
- Hammer and Nails: Basic tools for hanging frames.
- Stud Finder: To locate appropriate wall studs for heavier frames or larger pictures.
Step-by-Step Assembly Guide
Follow these instructions to effectively assemble your photo wall:
- Prepare the Wall: Clear the wall surface of any existing decorations or fixtures.
- Measure and Mark: Use a pencil to mark the placement of your frames, ensuring the layout is as planned.
- Install Hardware: For heavier frames, consider using wall anchors and ensure they are securely fastened.
- Hang Frames: Start with the largest piece first, followed by others, referencing your mock layout for spacing.
- Finalize Arrangement: Step back periodically to ensure your arrangement is visually appealing and make adjustments as needed.
Ensuring Level and Secure Installation
To achieve a polished finish, ensuring frames are level and securely installed is crucial. Here’s how you can do this:
- Utilize a Level: After hanging each frame, immediately verify with a level that it is straight.
- Use Quality Hardware: Invest in high-quality hooks or fasteners that can withstand the weight of your frames, preventing accidents.
- Reassess and Adjust: If a frame is off-level, adjust as necessary, ensuring a cohesive look across the entire wall.
Maintaining Your Photo Wall
Regular Updates and Refreshing Content
A photo wall is not a static creation; it can evolve over time. Regular updates help to keep the display fresh and engaging. Consider these tips for refreshing content effectively:
- Seasonal Changes: Rotate photos with the seasons or the changing themes of your life, reflecting current interests or milestones.
- New Additions: Whenever new memories are created, such as vacations or family events, add these photos to the wall.
- Incorporate Art and Quotes: Consider adding artwork or quotes that speak to your experiences along with your photos, enhancing narrative depth.
Cleaning and Preserving the Photos
To maintain the quality of your photo wall, regular cleaning and preservation measures are necessary:
- Dust Regularly: Use a soft cloth or feather duster to wipe down frames and areas around the wall to avoid a dusty appearance.
- Avoid Direct Sunlight: Position photos to minimize exposure to direct sunlight, which can lead to fading over time.
- Use Acid-Free Materials: If matting or framing photos, ensure the materials used are acid-free to prevent discoloration.
Creative Lighting Ideas to Enhance the Wall
Thoughtfully placed lighting can accentuate your photo wall and elevate its impact:
- Spotlights: Use directional spotlights to draw attention to specific photos, creating a gallery-like atmosphere.
- String Lights: Incorporate string lights around the frames for a quaint, cozy feel, especially in informal settings.
- Wall Washers: Install wall washers that spread light evenly across the wall, illuminating all photos effectively.
Common Questions About Photo Walls
How do I choose the best photos for my wall?
Select photos that evoke strong emotions or significant memories. Focus on quality images that tell a story or express joy. Consider varying the types of photos to create a dynamic layout.
What materials are best for framing?
Wood, metal, and acrylic are excellent materials for frames. Choose based on personal aesthetic preferences, the theme of the photos, and durability for long-term use.
Can I mix different styles of frames?
Yes, mixing frame styles can create an eclectic and personalized look. Ensure there is a unifying element, such as color or material, to maintain harmony.
How often should I update my photo wall?
Consider updating your photo wall seasonally or with significant life events. This keeps the display fresh and relevant, reflecting your current experiences and memories.
What if I have small wall space?
For smaller spaces, opt for fewer frames in a staggered layout or use a collage style to maximize visual impact without overcrowding.